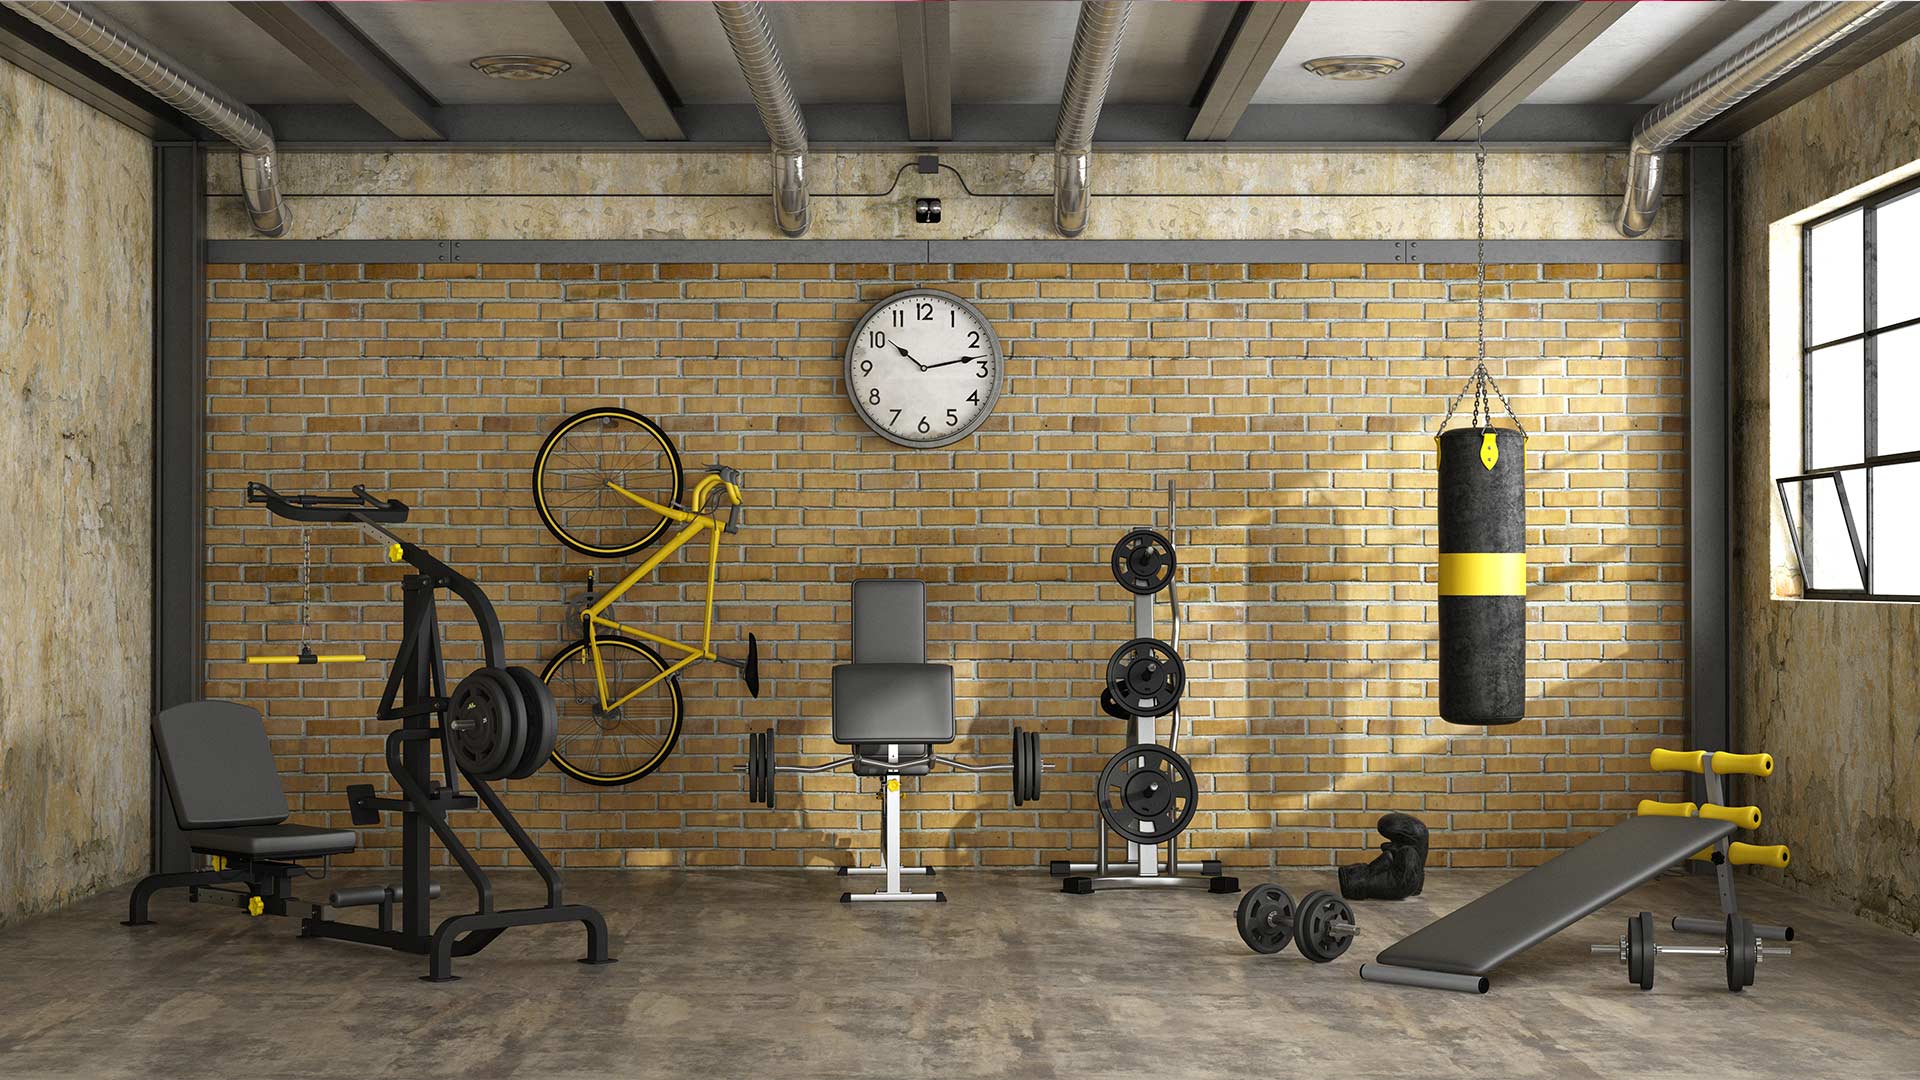
Transform Your Garage Into a Full Gym

Turning your garage into a full-fledged gym is one of the best investments you can make in your health—and it doesn’t have to drain your wallet. Whether you're tired of gym memberships or just looking for the convenience of working out at home, a garage gym offers freedom, flexibility, and long-term savings.
With some smart planning and cost-effective upgrades, you can convert your garage into a fitness haven without spending thousands of dollars. Here’s a step-by-step guide to help you get started.
Step 1: Clear the Space
The first step is decluttering. Remove any unused furniture, seasonal storage bins, and items that don’t belong. A clean and open floor plan not only maximizes your workout area but also prevents injury and distractions.
Sort items into three categories:
- Keep and relocate
- Donate or sell
- Discard
This process also helps you mentally commit to the transformation and reclaim the garage as a wellness space.
Step 2: Assess Flooring Needs
Concrete floors are common in garages, but they’re hard on joints and slippery when wet. Fortunately, you don’t need expensive flooring to create a safe, comfortable surface.
Here are a few budget-friendly options:
- Interlocking foam tiles: Easy to install, shock-absorbent, and affordable
- Horse stall mats: Extremely durable and cost-effective for heavy lifting
- Rubber rolls: Great for covering large areas and reducing noise
For as little as $100–$200, you can cover a one-car garage with basic gym flooring.
Step 3: Maximize Natural Lighting and Ventilation
Garages often lack proper lighting or airflow, making workouts feel stuffy or gloomy. Try these improvements:
- Replace bulbs with bright LED shop lights
- Add a standing or oscillating fan for circulation
- Open the garage door during workouts for fresh air and natural light
- Install a mirror to reflect light and monitor your form
These small upgrades make a big difference in creating a pleasant and motivating workout environment.
Step 4: Start With Multi-Purpose Equipment
You don’t need to buy everything at once. Begin with versatile gear that supports a wide variety of exercises and can grow with your fitness journey.
Here’s a sample list of foundational items:
- Resistance bands
- Adjustable dumbbells
- Jump rope
- Stability ball
- Pull-up bar
- Kettlebell
- Barbell and plates (optional but worth saving for)
Each item should serve multiple purposes to save space and money.
Step 5: Incorporate DIY Solutions
Garage gyms are perfect for DIY hacks. You can build or repurpose many items with a few tools and some creativity:
- Build a squat rack using 2x4 lumber and metal brackets
- Create a wall-mounted pegboard for organizing equipment
- Use a thick old rug or carpet as a temporary workout surface
- Turn milk crates or stacked plywood into a plyometric box
YouTube is full of tutorials for DIY home gym projects, often using materials you already have on hand.
Step 6: Optimize Storage to Reduce Clutter
Keeping your garage gym tidy ensures it stays usable. Use vertical and overhead space whenever possible to maintain a clear workout area.
Consider these affordable storage solutions:
- Wall hooks for jump ropes, bands, and mats
- Shelving units for weights and accessories
- Pegboards for hanging small equipment
- Magnetic strips for metal tools or clips
- Storage bins with labels for towels, gloves, or yoga gear
Investing in $50–$100 worth of storage can keep your space organized and safe.
Step 7: Create Workout Zones
If space allows, divide your garage into workout “zones” for different activities:
- Strength zone with weights and rack
- Cardio corner with a jump rope, bike, or rowing machine
- Flexibility/mobility area with a mat, foam roller, and stretch strap
Zoning helps create structure and flow, making your garage feel more like a professional gym.
Step 8: Use Technology to Your Advantage
Smartphones, tablets, and laptops can bring world-class instruction right into your garage. Mount a small screen to the wall or set up a tablet stand to follow along with:
- YouTube fitness channels
- Subscription workout platforms (like Peloton, Beachbody, Les Mills)
- Free apps with guided routines and timers
This eliminates the need for a personal trainer and keeps you accountable.
Step 9: Budget for Upgrades Over Time
Don’t feel pressured to buy everything at once. Build your gym gradually as you figure out what you actually use and enjoy.
Here’s a suggested budget-friendly upgrade path:
- Month 1: Basic equipment (bands, mat, dumbbells)
- Month 2: Flooring and storage upgrades
- Month 3: Barbell and bench
- Month 4+: Larger items like a squat rack or cardio machine
Look out for seasonal sales, warehouse deals, and secondhand equipment to save even more.
Step 10: Make It a Space You Want to Use
Your garage gym should feel inviting and motivating. Add personal touches like:
- A whiteboard for writing workouts
- A Bluetooth speaker for music or podcast playback
- Motivational posters or flags
- A mini fridge with water and post-workout snacks
- Scent diffusers or plants for a calming vibe
The more enjoyable your environment, the more likely you are to use it consistently.
Transforming your garage into a gym doesn’t require a huge budget. With thoughtful planning, smart purchases, and a little creativity, you can create a powerful fitness space that rivals commercial gyms in both function and comfort.
More importantly, your garage gym becomes a place of habit, growth, and daily investment in yourself. Whether your goal is strength, cardio, weight loss, or mental wellness, this space can support every step of the journey—without leaving your home or emptying your wallet.
